Field Notes: Trail Cameras, E-Scouting, and Letting the Woods Tell the Story
Trail cameras have become one of the most valuable tools available to hunters, wildlife enthusiasts, and land managers. While many people think of them as a way to capture pictures of deer, their true value lies in the information they provide. One of the biggest mistakes I see people make with trail cameras is putting them where they expect wildlife to be rather than where the evidence suggests wildlife actually are.
Before I hang a camera, I ask myself a simple question:
What am I trying to learn?
The answer to that question often determines where the camera goes.
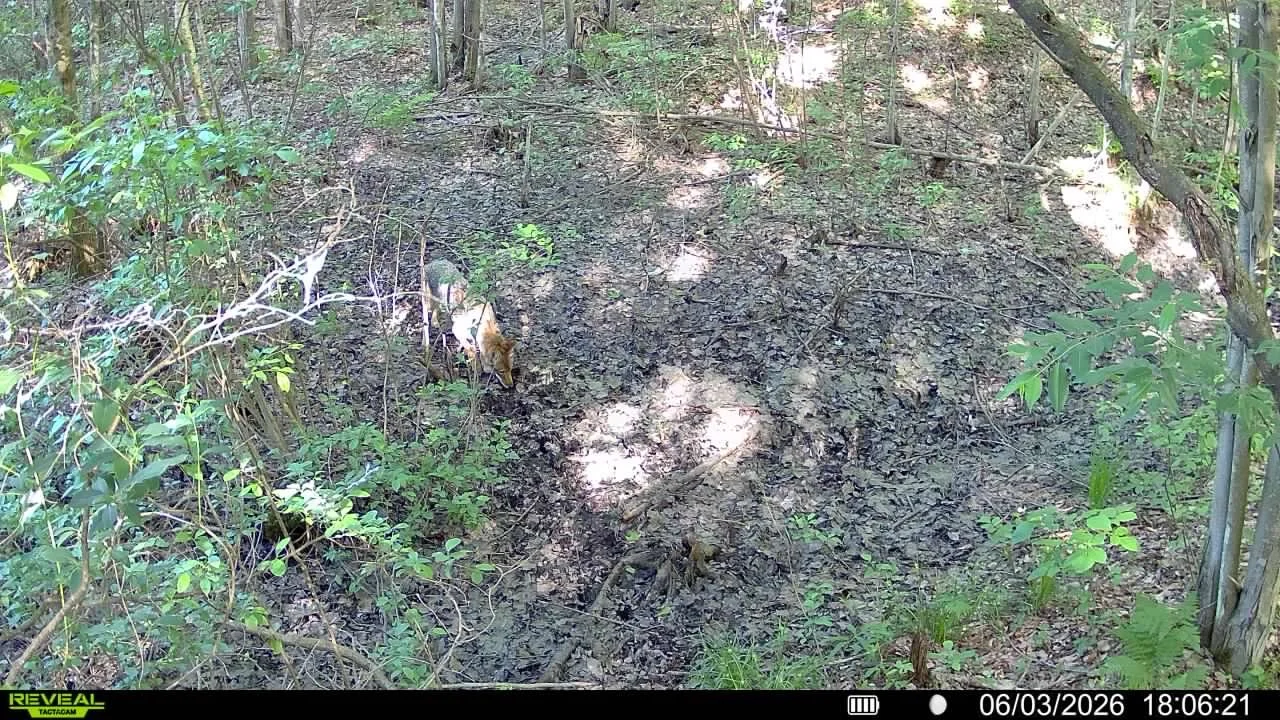
A coyote documented during an inventory of this travel corridor.
If my goal is simply determining whether deer are present on a property, I may place cameras very differently than if I'm trying to inventory deer or identify individual bucks, identify multiple wildlife species, monitor a food source, evaluate travel corridors, or gather information on a specific animal.
The right location depends on the question you're trying to answer.
Many hunters have heard that cameras should face north or south to avoid sunrise and sunset glare. While that is often good advice, camera placement is rarely that simple. Vegetation, terrain, prevailing travel routes, seasonal habitat use, weather conditions, camera orientation, and the information you're trying to collect can all influence camera placement.
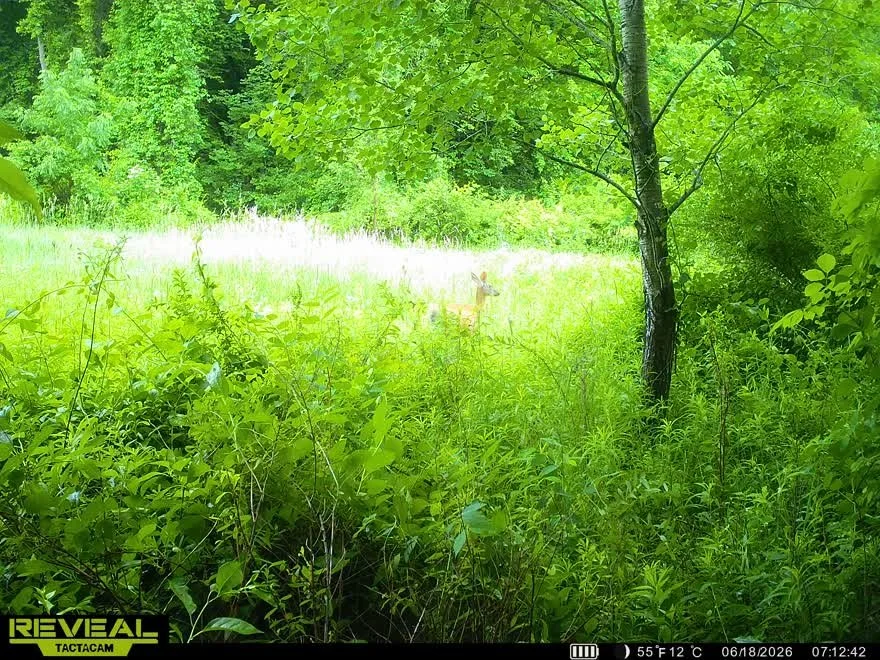
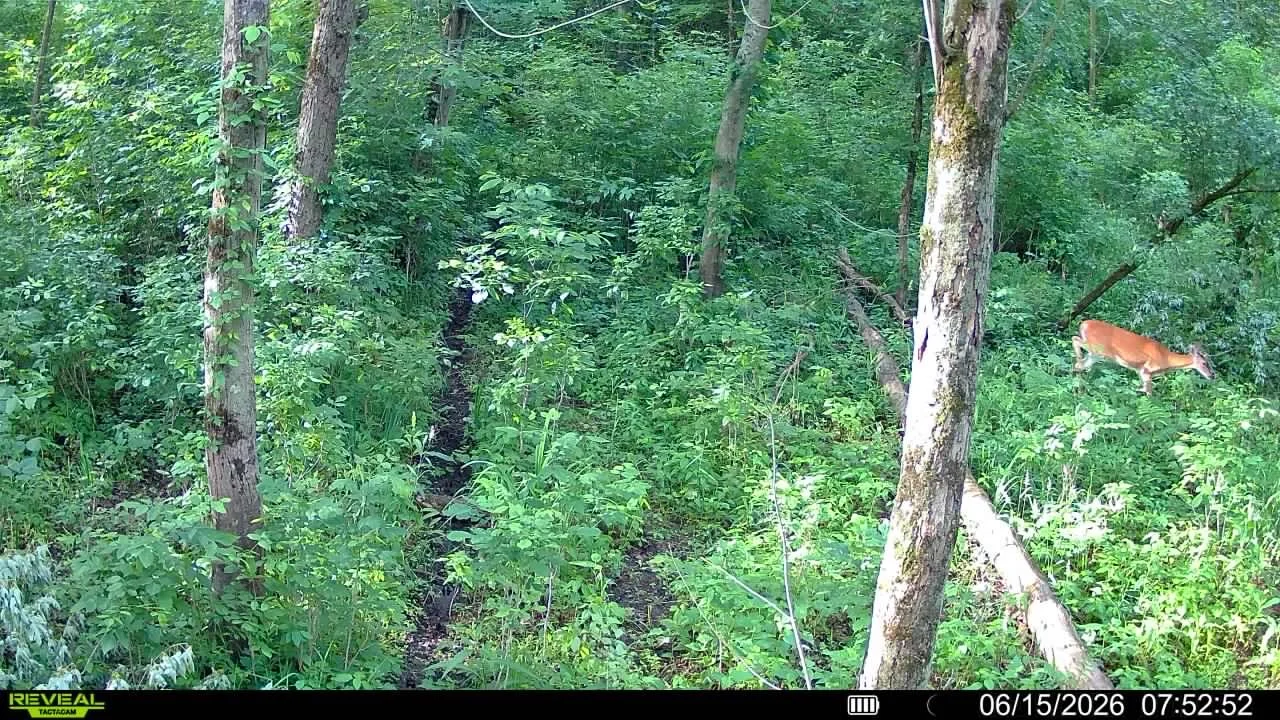
Common Mistake: This camera was positioned along an active travel corridor, but rapidly growing summer vegetation reduced visibility throughout much of the frame. While deer using the primary trail remained detectable, wildlife traveling outside the corridor was often obscured.
Long before I set foot on a property, I often spend time examining aerial imagery, topographic maps, habitat transitions, water sources, travel corridors, terrain features, and access routes. This process, often referred to as e-scouting, helps narrow down large areas into locations worth investigating on the ground. Once in the field, that information is combined with traditional sign such as tracks, trails, scat, rubs, scrapes, bedding cover, food sources, and habitat characteristics (species dependent).
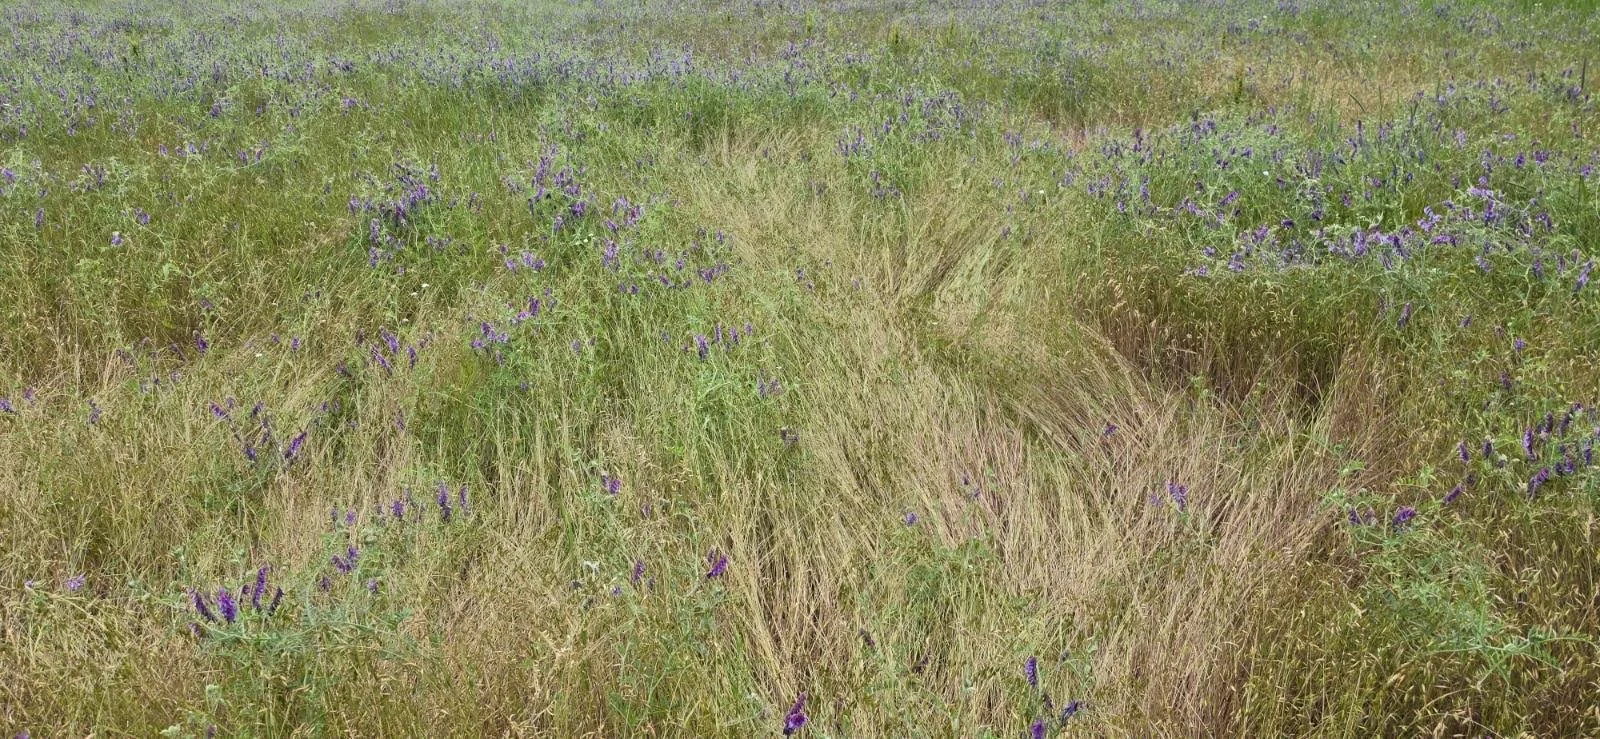
Sign: Bedding
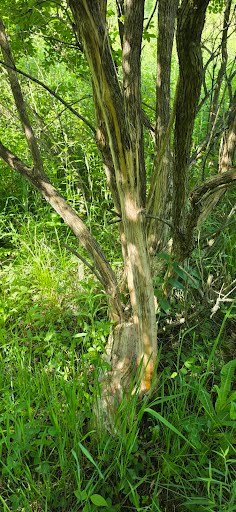
Sign: Rub
Field sign can often help validate information gathered during e-scouting. Features such as bedding cover, rubs, trails, scrapes, and tracks can provide clues about how wildlife is using a property and help narrow down potential camera locations.
After I validate sign and use, then and only then do I begin deciding where cameras should be placed.
Many people don't realize just how many factors can influence trail camera deployment. Your objectives, time of year, habitat type, property size, local geography, target species, hunting pressure, access routes, available camera inventory, and overall scouting strategy can all affect not only where cameras are placed, but how many cameras may be needed to effectively monitor an area.
For example, a single camera intended to document wildlife presence may be positioned very differently than a camera being used to inventory mature bucks. Likewise, a camera monitoring a food source may provide very different information than one positioned along a travel corridor.
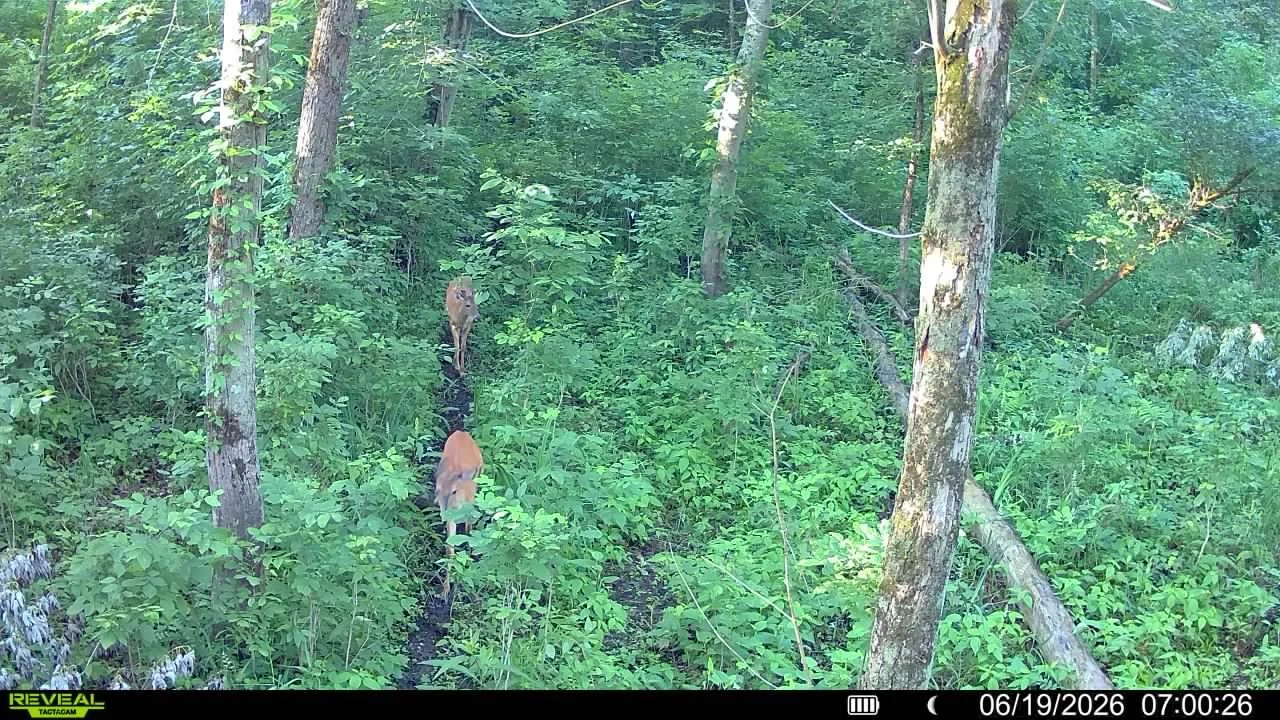
This camera was placed overlooking a high-use trail that deer frequently use to access the river corridor. Natural funnels and terrain features often concentrate movement, making locations like this excellent candidates for wildlife inventory and monitoring.
Neither approach is necessarily right or wrong. They simply answer different questions.
Over the past several weeks, I have deployed cameras across multiple public land locations throughout Michigan. Some were positioned to document wildlife activity in general, while others were placed based on habitat features and travel routes identified through scouting and map analysis.
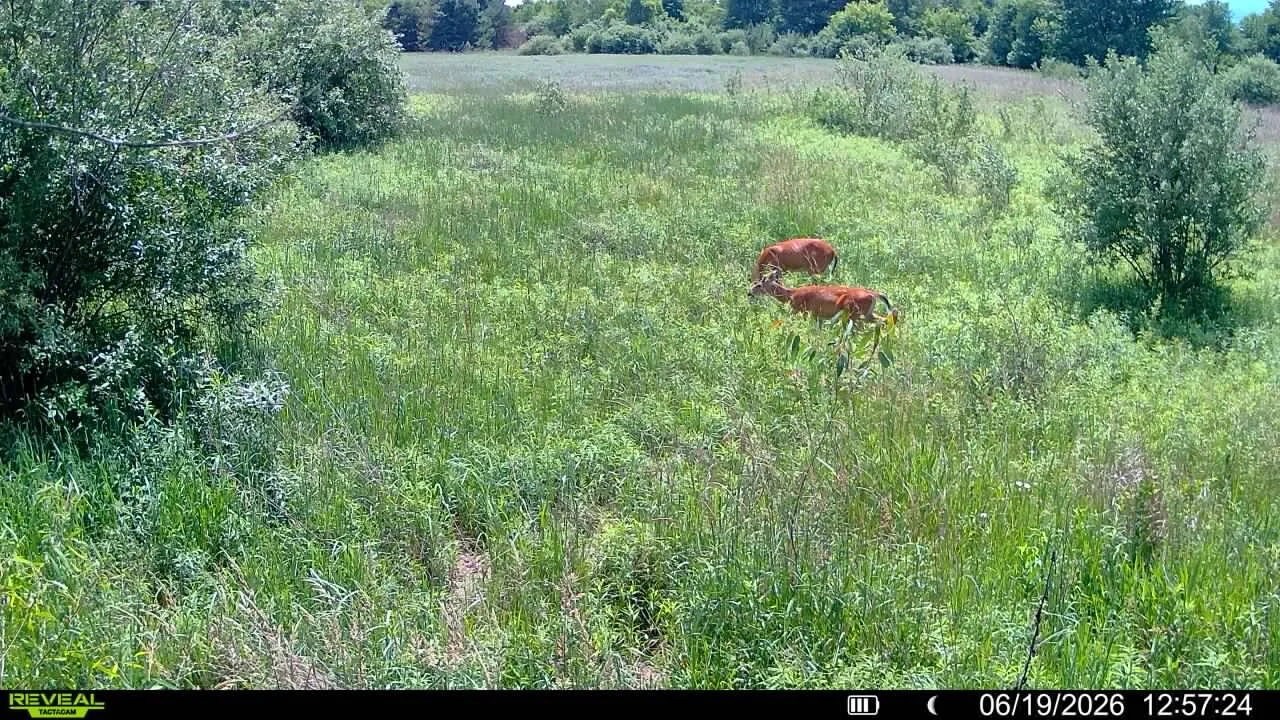
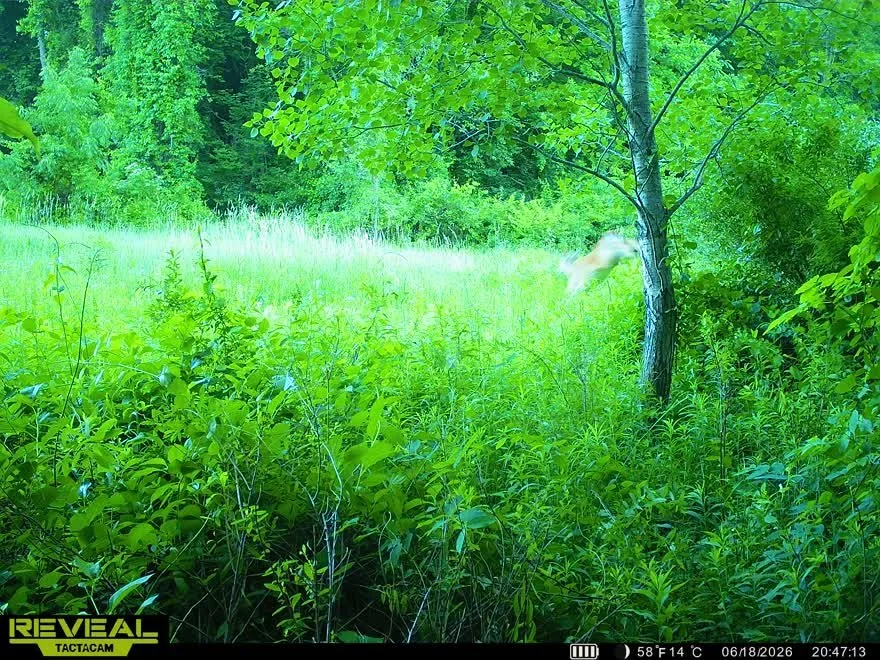
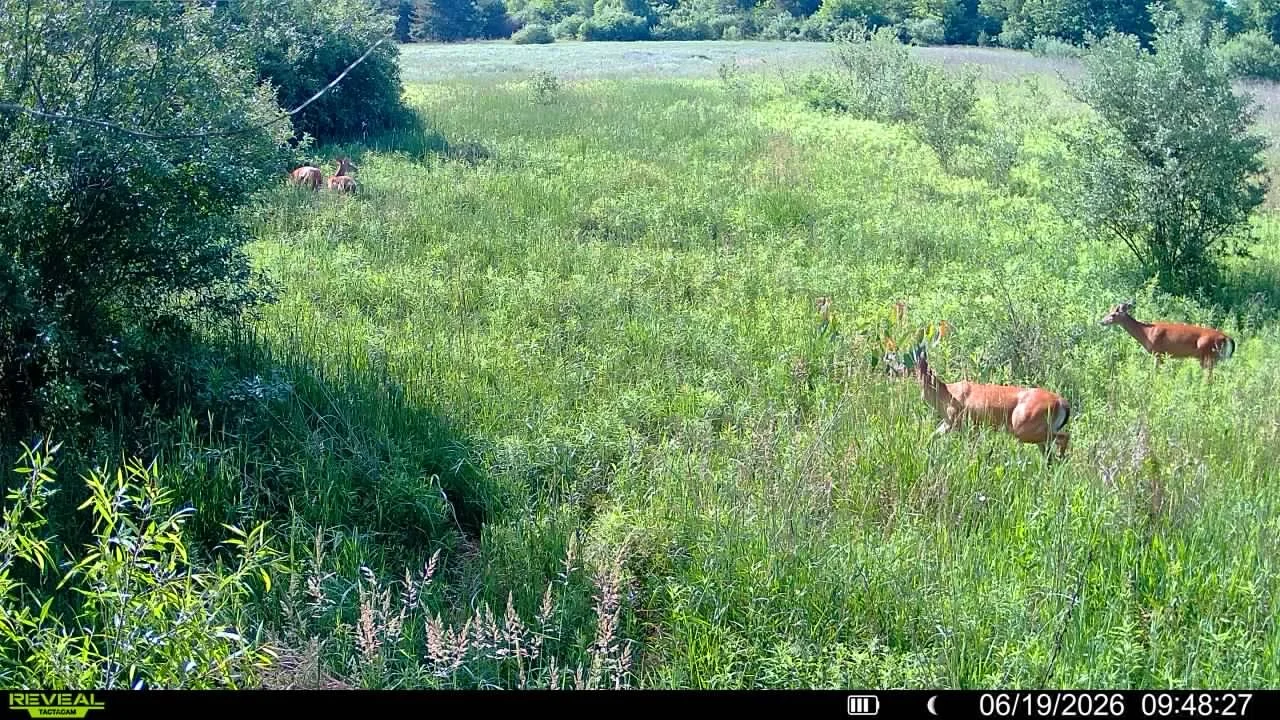
The results have included daytime photographs of does, nighttime deer movement, raccoons, coyotes, and numerous other species utilizing the same landscapes. (Slide show below show a small selection of pictures gathered within the last few weeks. )
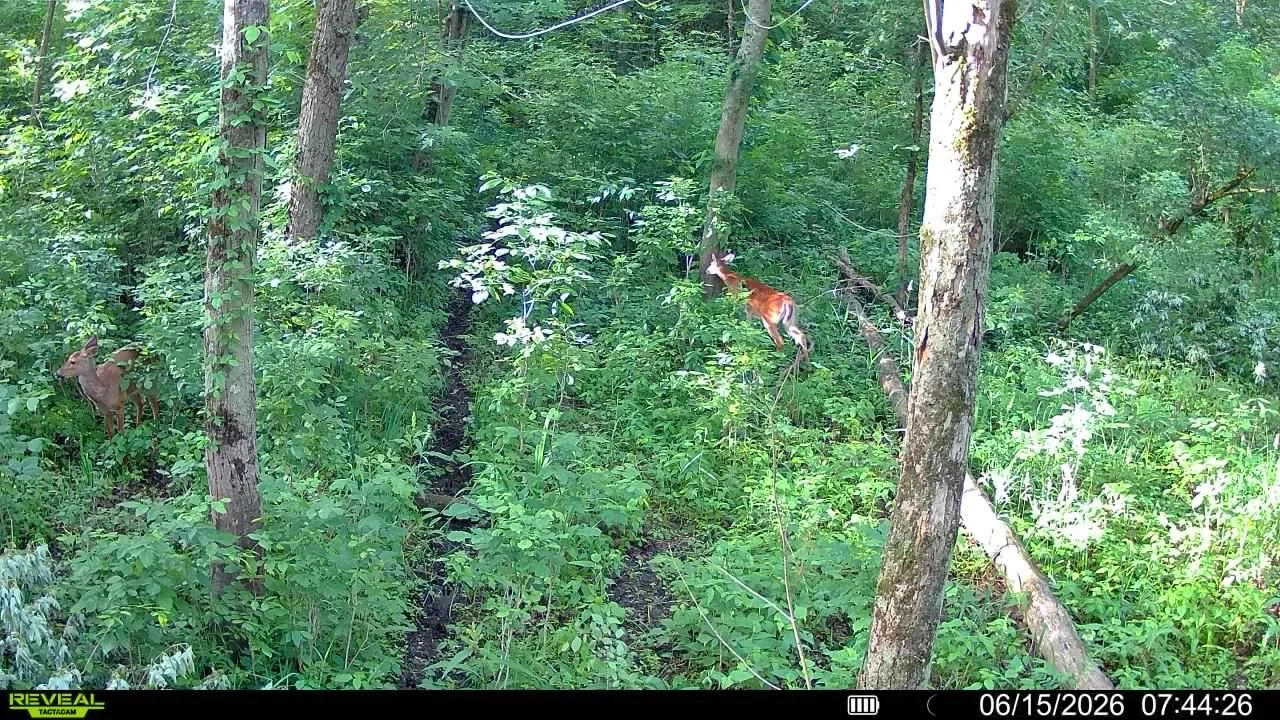
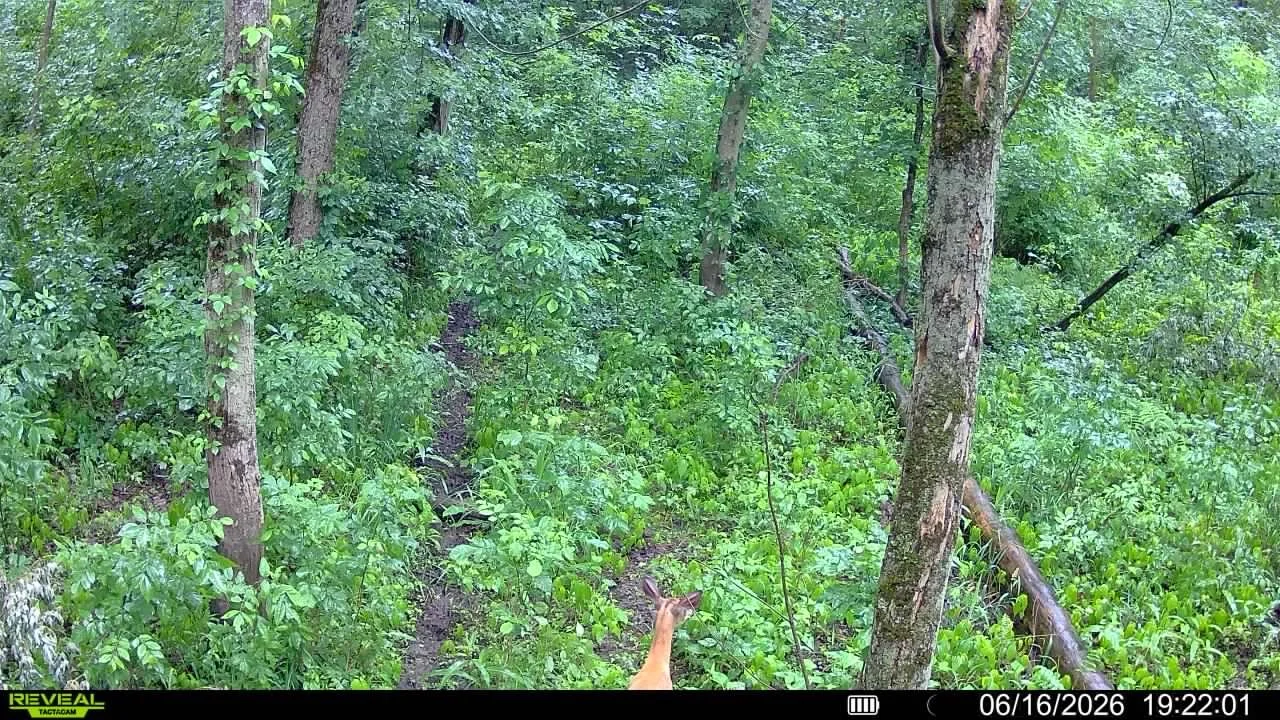
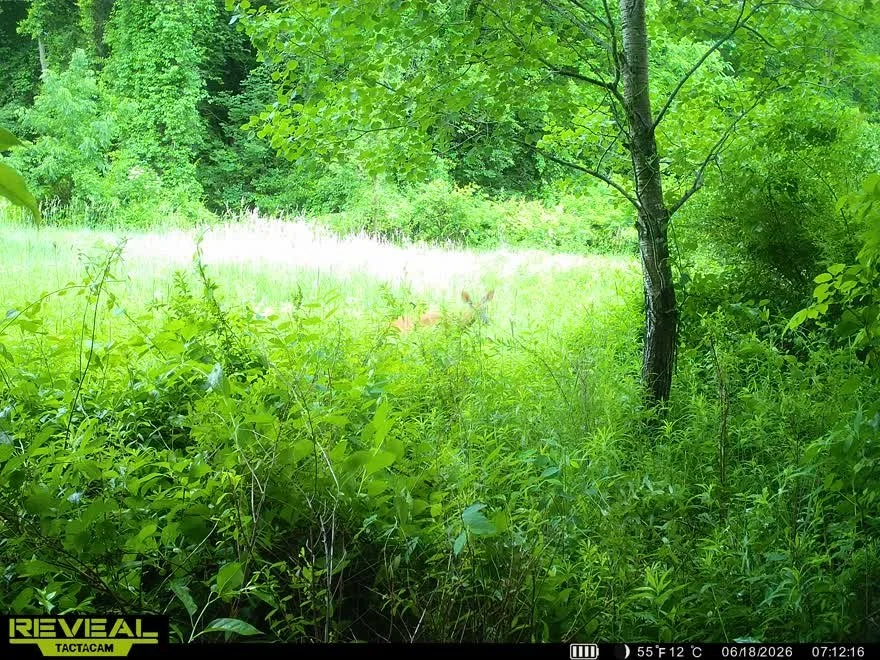
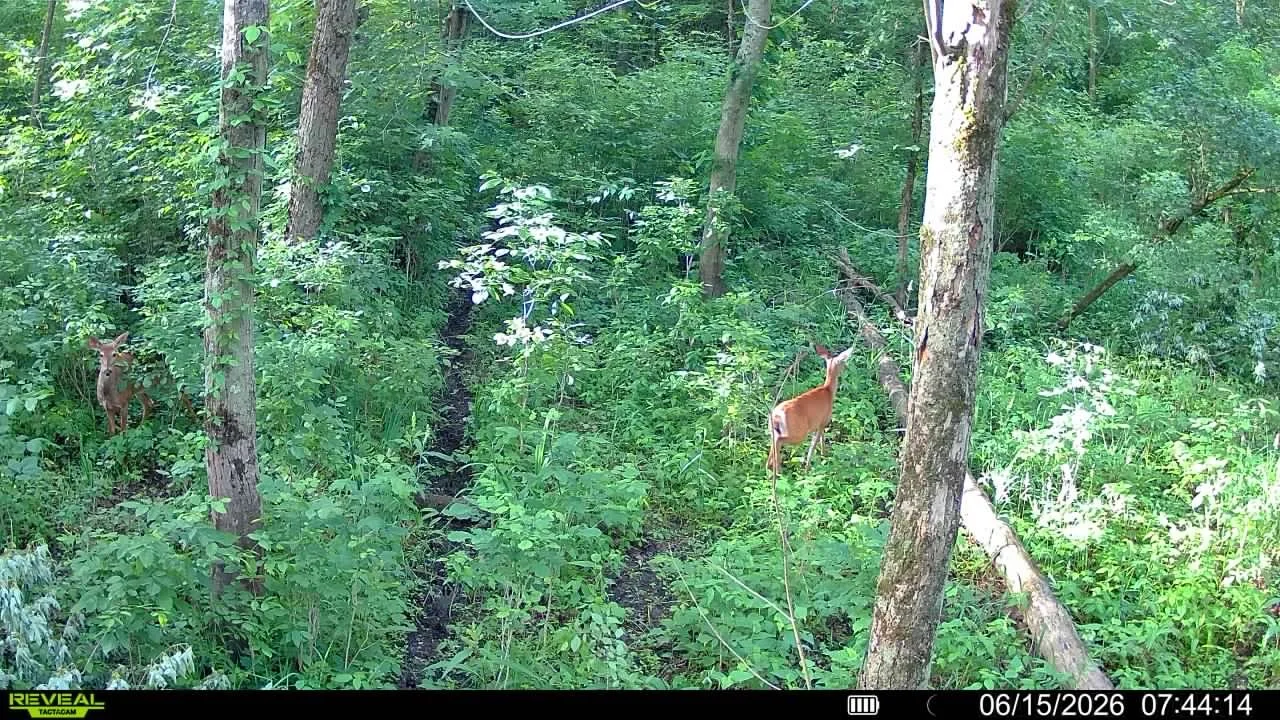
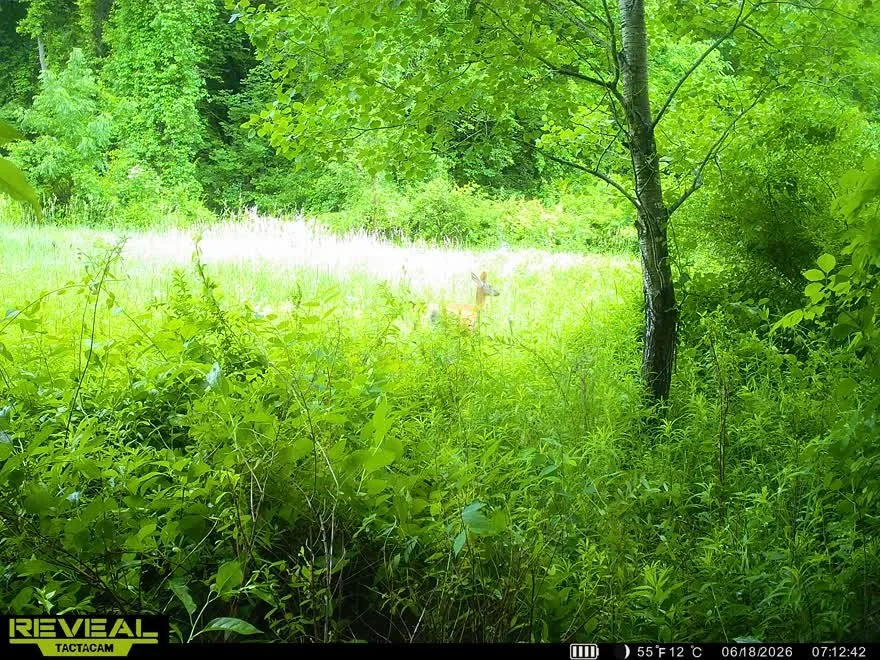
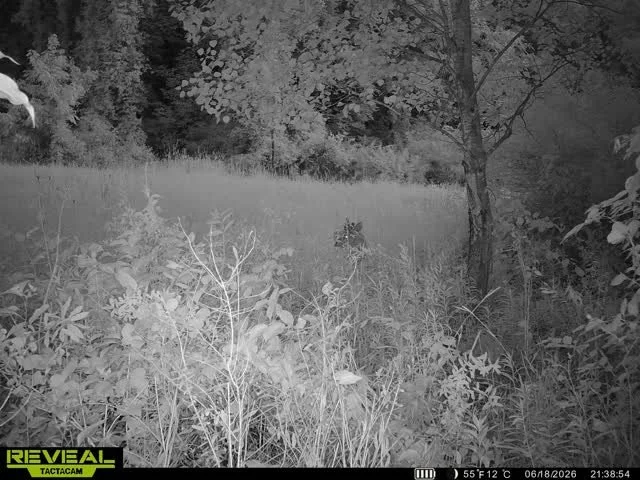
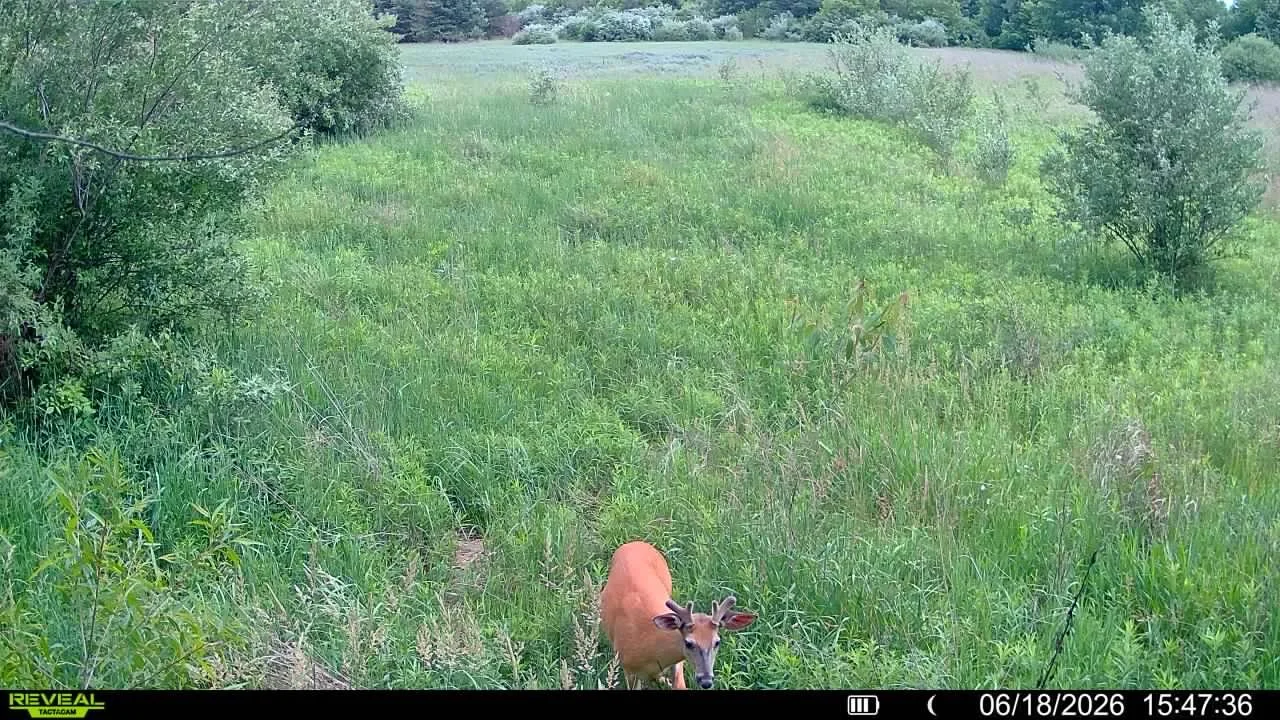
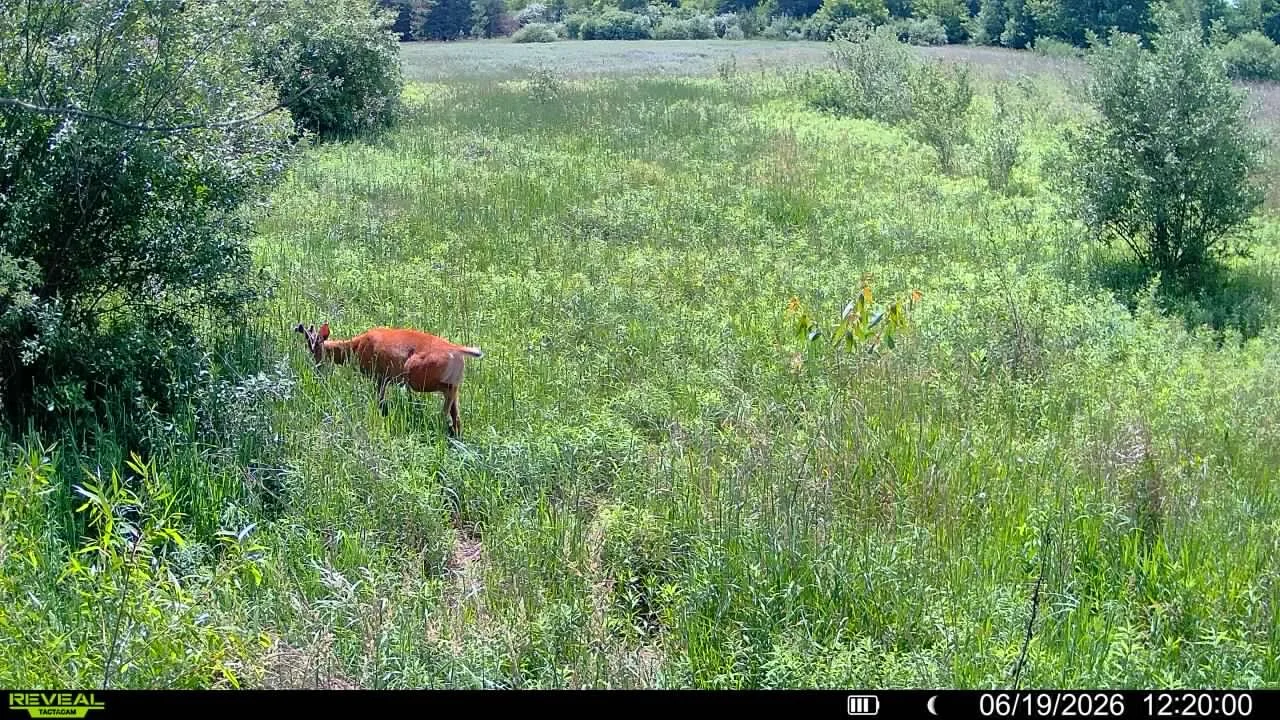
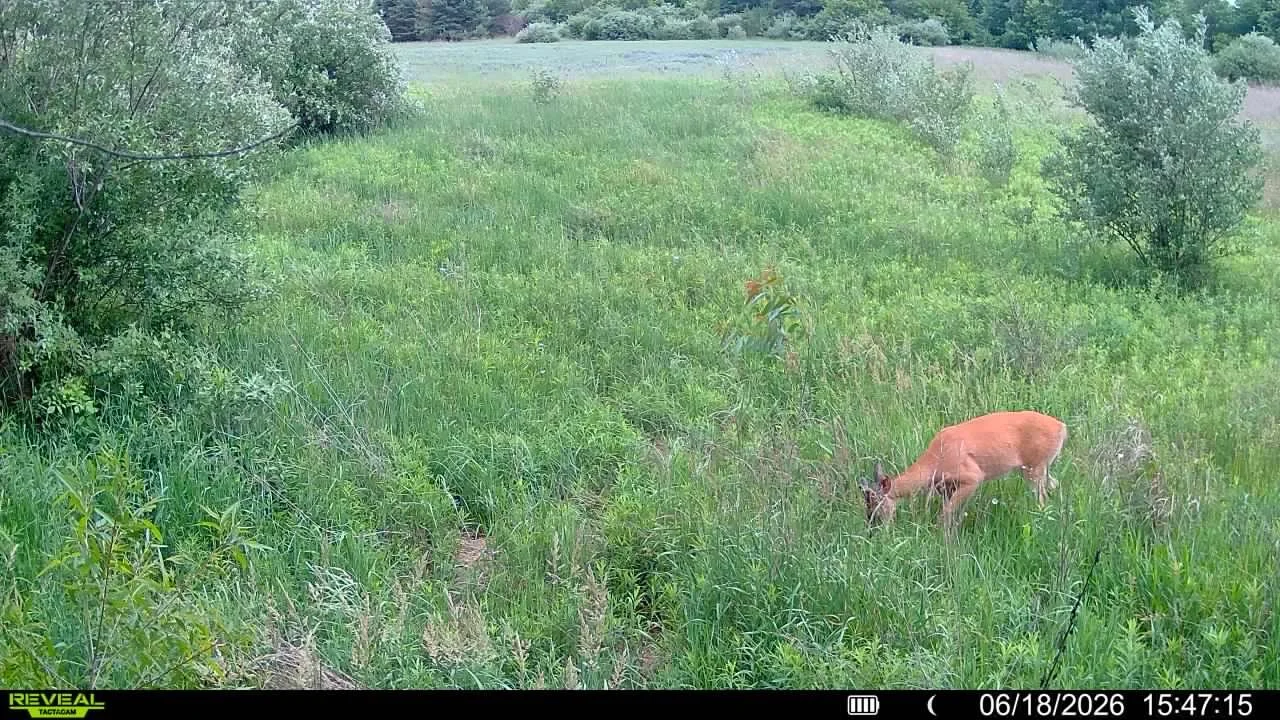
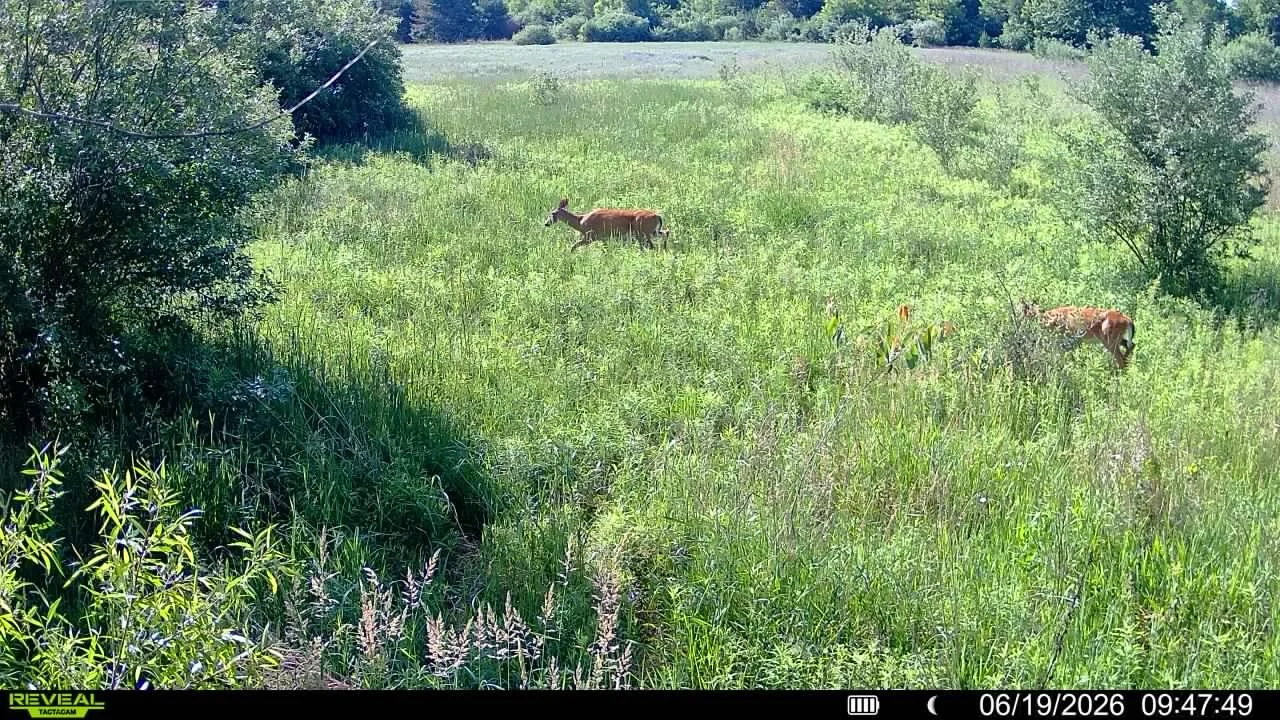
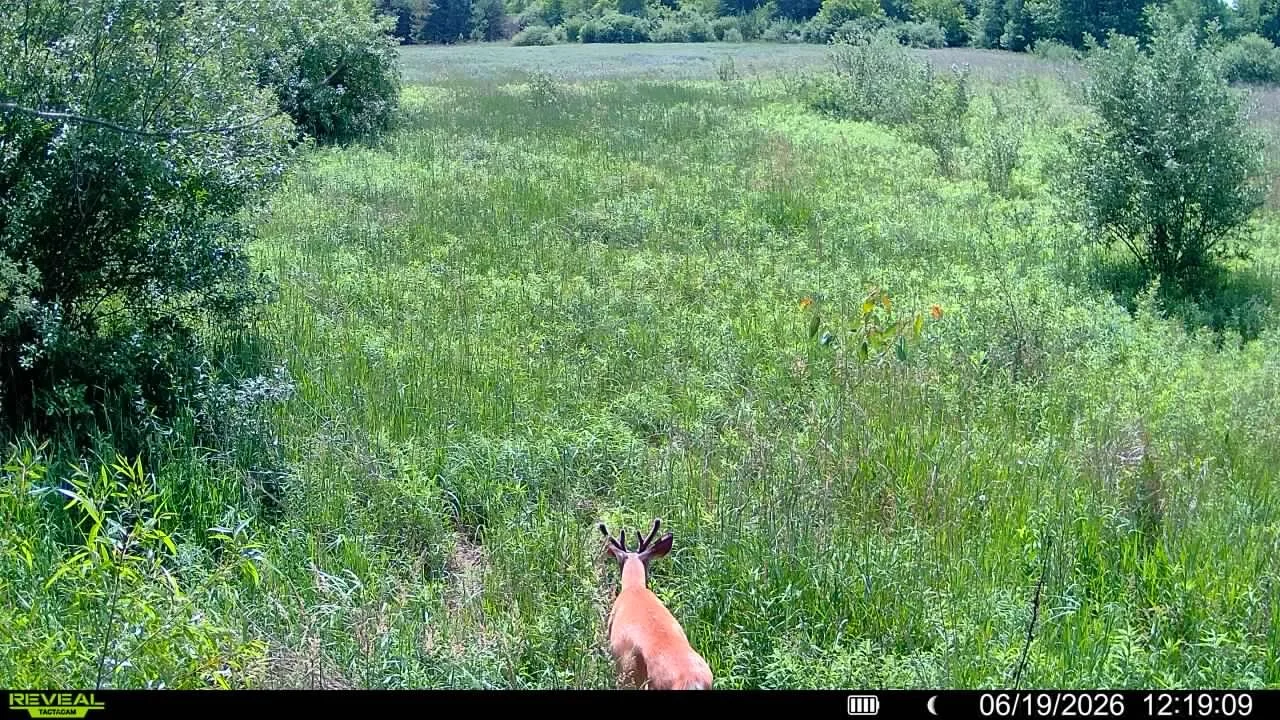
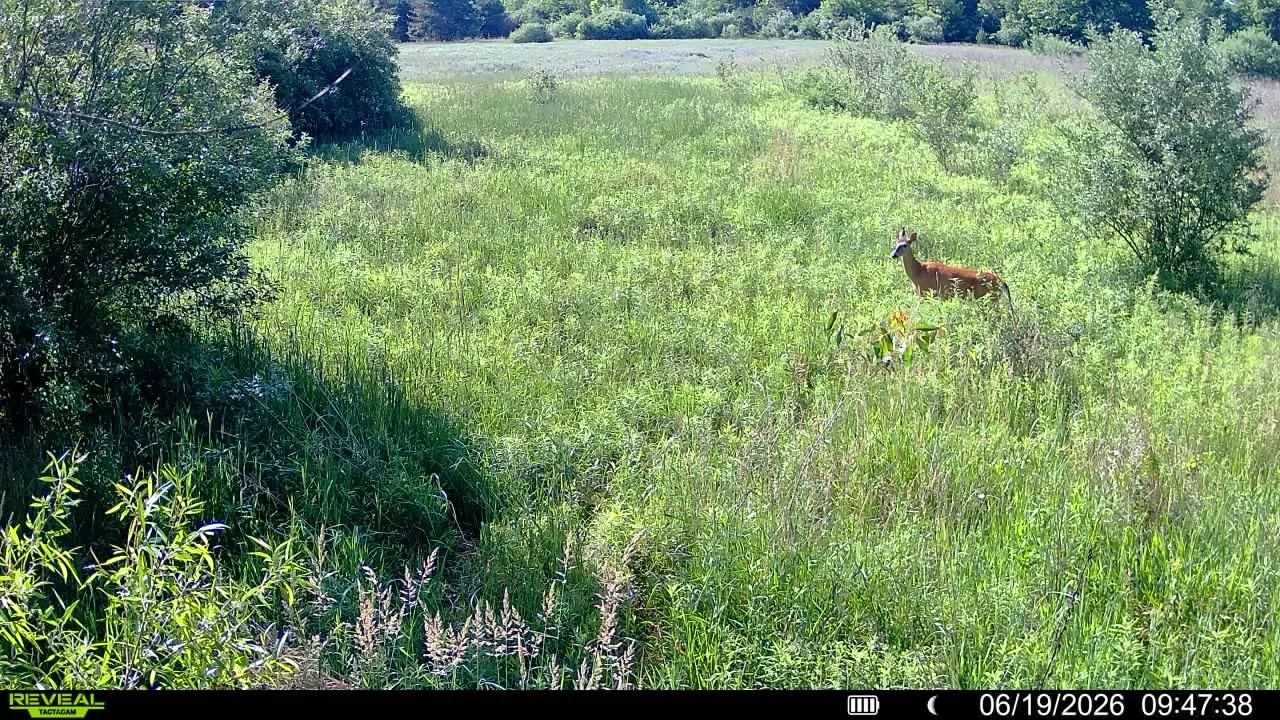
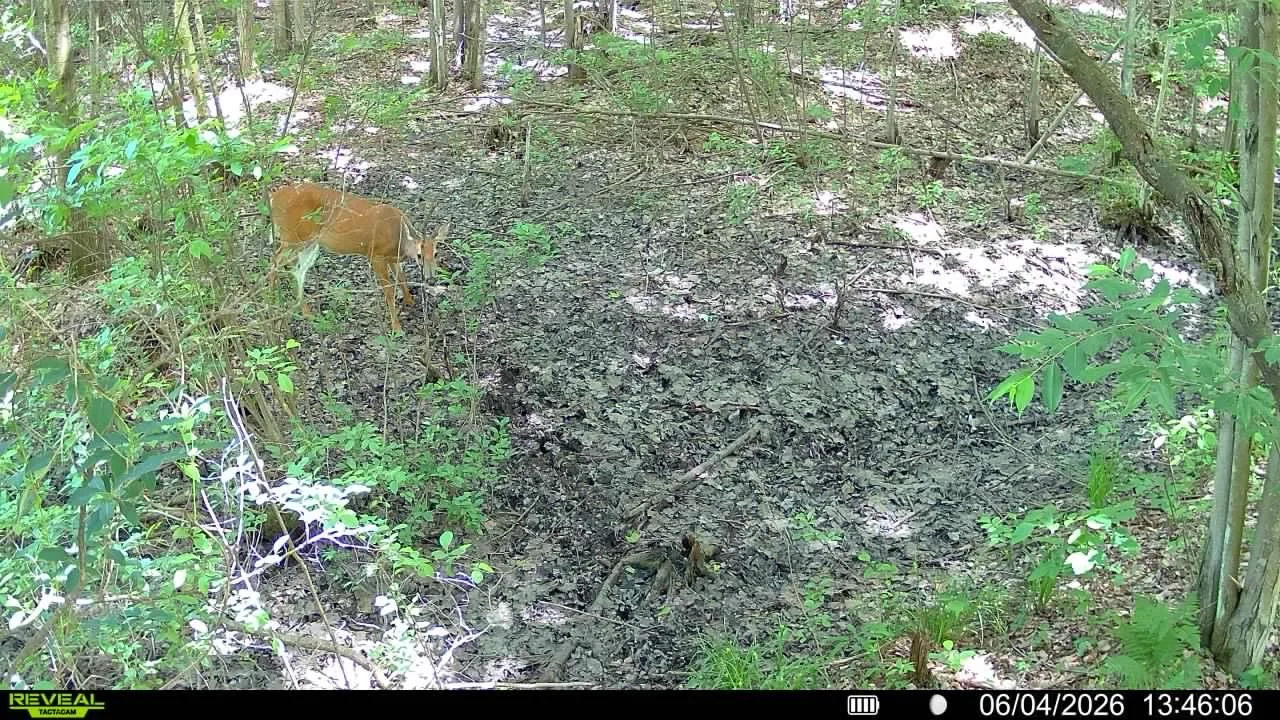
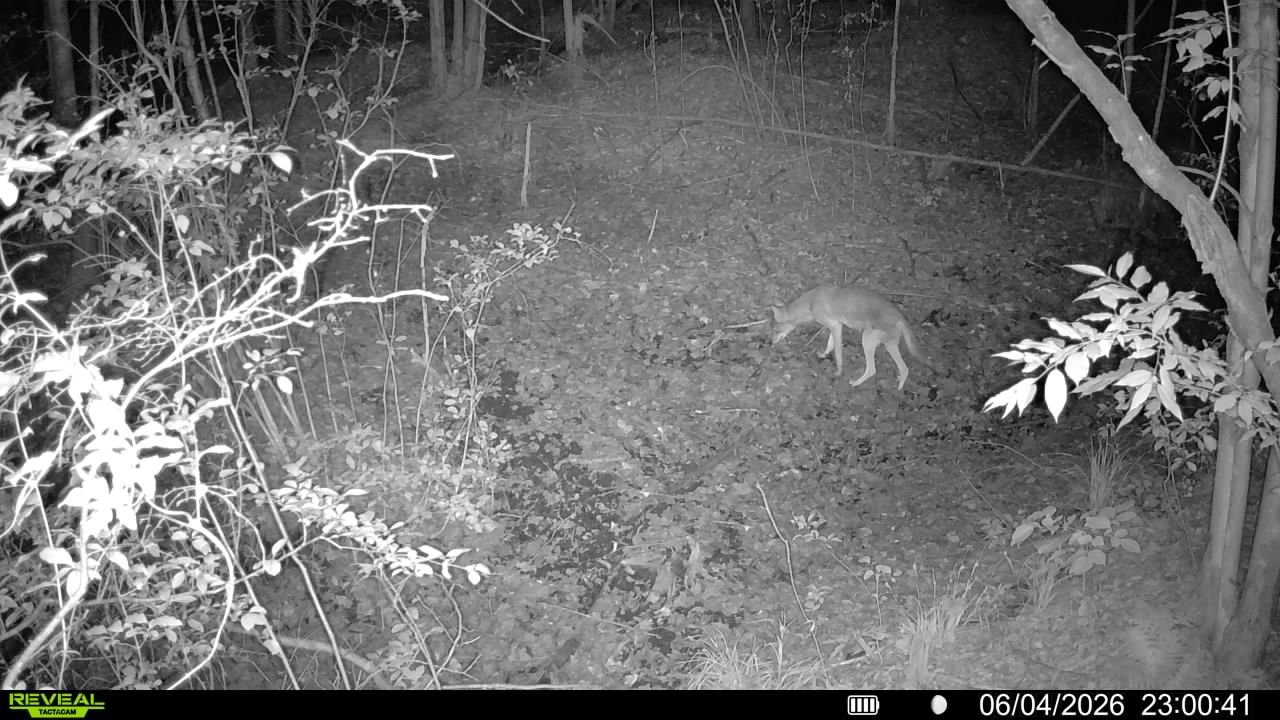
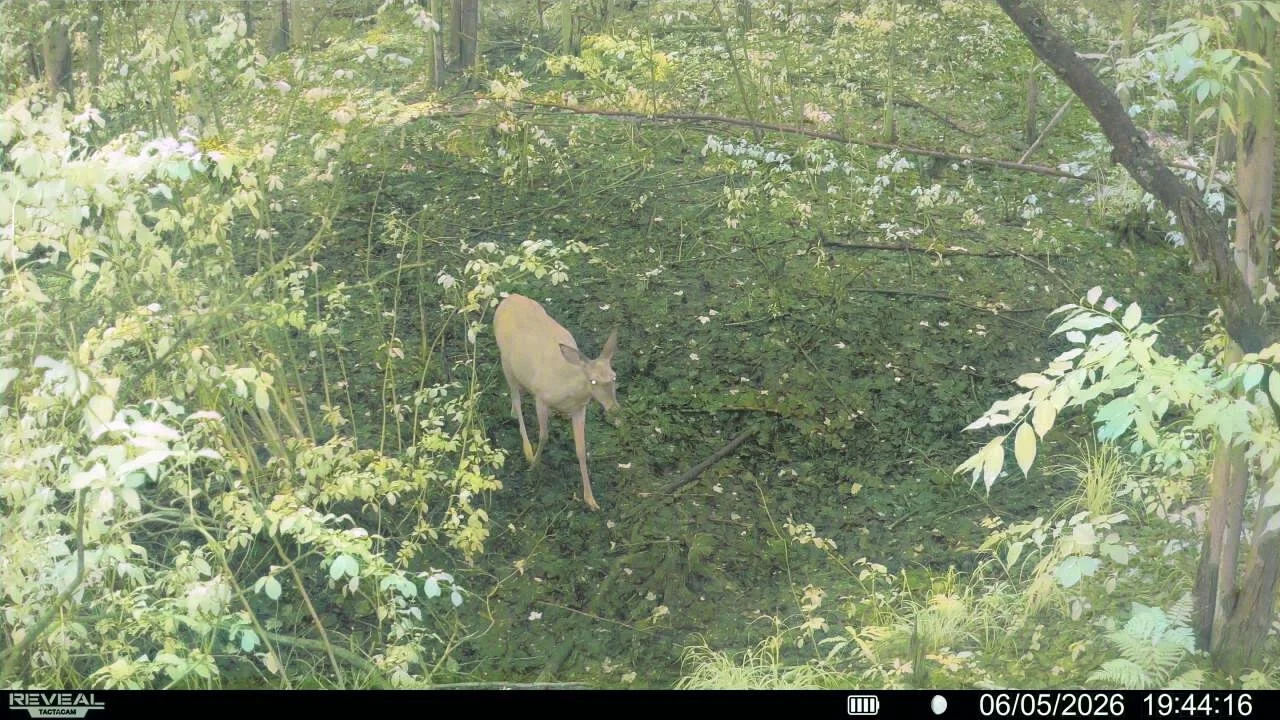
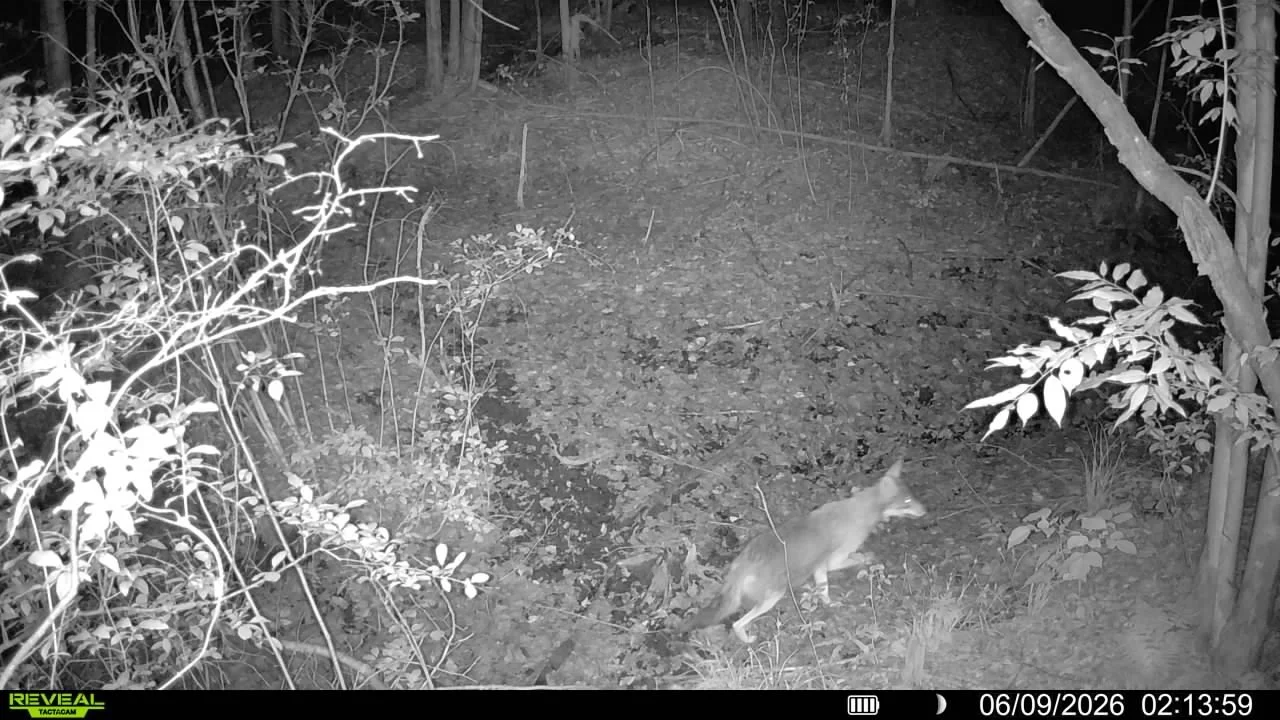
One of the things I enjoy most about trail cameras is that they often challenge our assumptions. Areas that appear ideal on a map sometimes produce very little activity, while locations that seem unremarkable can become some of the most productive camera sites on a property.
-
Trail cameras are valuable tools for hunters, landowners, wildlife enthusiasts, and researchers alike. Depending on your goals, cameras can be used to:
Document wildlife presence and species diversity
Document wildlife behavior and activity patterns
Conduct deer herd and buck inventory surveys
Monitor wildlife movement, travel corridors, crossings, and pinch points
Evaluate habitat use and seasonal wildlife activity
Assess predator, scavenger, and nuisance species activity
Monitor food sources, water sources, and other key habitat features
Evaluate wildlife response to habitat management projects
Investigate wildlife damage, depredation events, and predator activity
Monitor hunting pressure and human activity
Support wildlife research, citizen science projects, and conservation efforts
Document rare, uncommon, or otherwise notable wildlife observations
While trail cameras cannot answer every wildlife question, they can provide an incredible amount of information when combined with clear objectives, proper placement, and thoughtful interpretation of the data they collect.
The more clearly you define your objectives before placing a camera, the more valuable that information becomes.
In future Field Notes, I'll discuss additional lessons learned from the field, more in depth trail camera placement considerations, and how trail cameras can be used to better understand wildlife movement and habitat use.
Until next time, thank you for being here. I hope you learned something and found value in this Field Notes entry.
Tip of the Spear Outdoors offers guided hunts, scouting and outdoor field education, youth workshops, property consultations, and wildlife-focused learning opportunities.
Whether you're looking to become a more effective hunter, a better steward of the land, or simply learn more about the natural world around you, we'd be honored to help.
Forged by Service, Dedicated to the Outdoors.